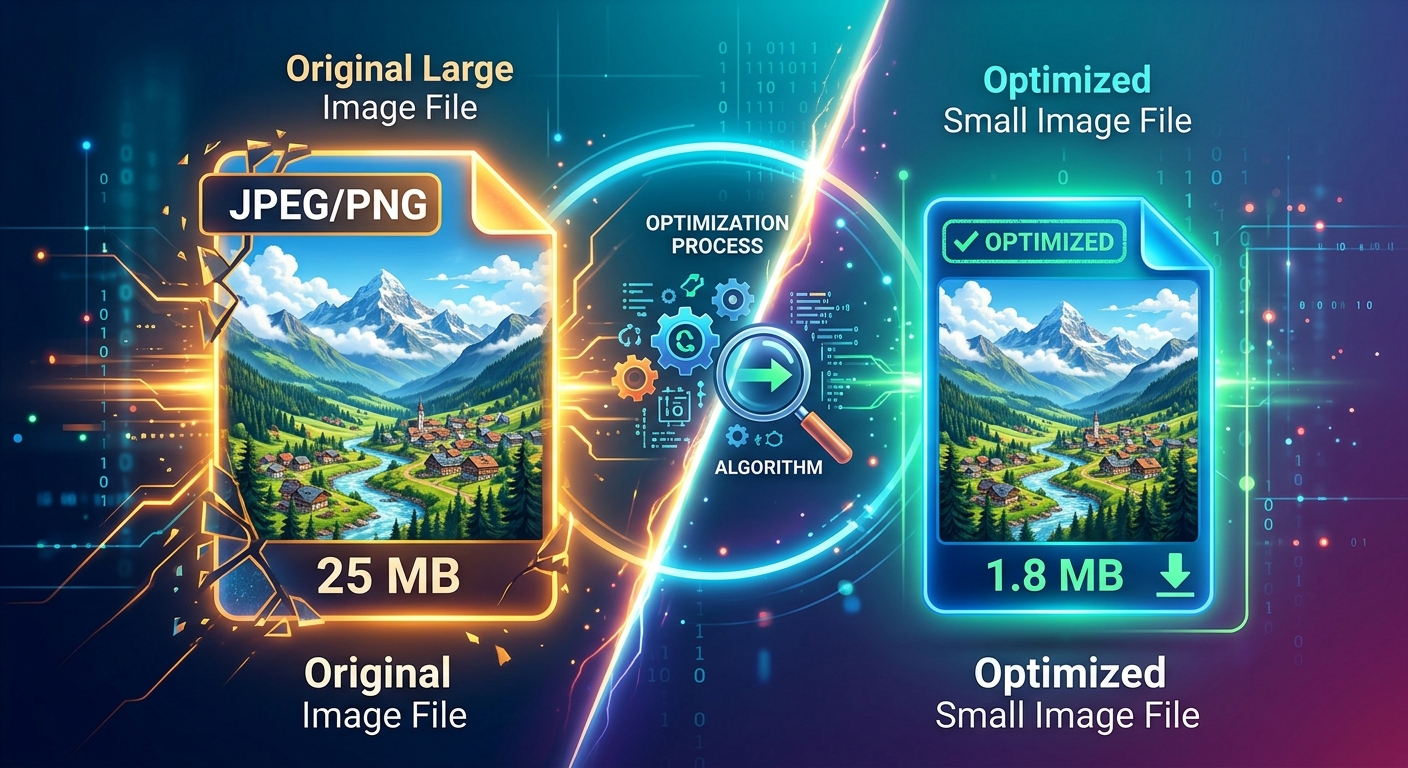
Your images are probably bigger than they need to be. A photo straight from your phone can weigh 5MB or more. A website hero image saved the wrong way can slow your page to a crawl. An email with a handful of unoptimized pictures might not land in the inbox at all. The good news is that cutting file sizes dramatically is possible, and the viewer never notices the difference. This guide walks you through the whole process, from picking the right format to hitting the right target size for every situation.
At a Glance
- JPEG works best for photographs; PNG suits graphics and transparent elements; WebP beats both for modern websites.
- Lossy compression shrinks files more aggressively; lossless keeps every pixel intact but produces larger files.
- Website images should stay under 200KB; email attachments under 1MB total; social uploads under 500KB.
- Free online tools let you process images in seconds without installing any software.
- Always keep an uncompressed original before applying lossy compression , you cannot recover lost data.
Why File Size Matters More Than You Think
Large images slow websites down. A page that takes longer than three seconds to load loses more than half its visitors before they see any content. Search engines pay attention to that. Google's Core Web Vitals framework measures how fast your largest content element loads, and a bloated hero image is one of the most common causes of a poor score.
Outside of websites, file size problems show up in different ways. An email provider might clip a large attachment or route the message to spam. A social platform might recompress your image on its own terms, often making it look worse than if you had compressed it yourself. Controlling file size means controlling output quality.
The process is not complicated once you know what drives file size. It comes down to three things: the format you choose, the compression method you apply, and the dimensions you export at.
Choosing the Right Image Format Before You Compress
The format sets a ceiling on how small the file can get without visible damage. Choosing the wrong one from the start means fighting the compression process from the beginning.
JPEG for Photographs
JPEG has been the standard for photographs since the early 1990s. It uses lossy compression, which means some data is permanently discarded during saving. At quality settings between 75 and 85 percent, the average viewer cannot detect any difference from the original. A 4MB photo can routinely drop to under 200KB with no visible degradation.
JPEG struggles with flat colors, hard edges, and text overlaid on images. A logo saved as a JPEG will look blurry around the lettering. For those cases, use a different format.
PNG for Graphics and Transparency
PNG uses lossless compression by default, preserving every pixel exactly. That makes it ideal for logos, icons, screenshots, and any image where a transparent background is needed. The trade-off is file size. A full-screen PNG screenshot can easily top 2MB where a JPEG of the same scene might be 200KB.
PNG-8 supports 256 colors and produces smaller files. PNG-24 supports millions of colors and full alpha transparency but creates much larger files. Match the variant to the image content rather than defaulting to one or the other.
WebP for Web Publishing
WebP was developed by Google and handles both photographs and graphics efficiently. It supports transparency like PNG and achieves smaller file sizes than both JPEG and PNG at comparable quality levels. A WebP photo can be 25 to 35 percent smaller than an equivalent JPEG. Browser support is now solid across Chrome, Firefox, Safari, and Edge.
If you are building or updating a website, WebP is the format to prioritize. For email and social media, JPEG and PNG remain safer choices since not all platforms handle WebP consistently.
Lossy vs Lossless: The Real Difference Between the Two
Lossy compression permanently removes data from the image. It is aggressive and produces the smallest files. JPEG is the most widely used lossy format. WebP also supports a lossy mode.
Lossless compression reorganizes the image data without discarding any of it. The file is smaller than the original, but every detail is preserved exactly. PNG is the classic lossless format. WebP supports a lossless mode as well.
For most web use cases, lossy compression at a quality setting between 75 and 85 percent gives the best results. You get a fraction of the original file size with no noticeable visual loss to the reader. Drop below 60 percent quality and visible artifacts start appearing, especially around edges, text, and gradients.
File Size Targets for Every Platform and Use Case
Different platforms have different tolerances. Knowing where you are publishing tells you exactly how far to push the compression.
Realistic Targets for Common Use Cases
| Use Case | Best Format | Target File Size | Quality Range |
|---|---|---|---|
| Website hero image | WebP or JPEG | Under 200KB | 75% to 85% |
| Blog post inline image | WebP or JPEG | Under 150KB | 75% to 80% |
| Email attachment photo | JPEG | Under 1MB total | 70% to 80% |
| Social media post | JPEG or PNG | Under 500KB | 80% to 85% |
| Logo or icon (web) | PNG or WebP | Under 50KB | Lossless |
A Step-by-Step Compression Walkthrough
This process works whether you are handling one image or a whole batch. Follow it a few times and it becomes automatic.
- Resize your image first. If the image is 4000 pixels wide and your website column is 800 pixels wide, resize to match. Compression alone cannot undo the overhead from unnecessarily large pixel dimensions.
- Choose your format. Photos go to JPEG or WebP. Graphics with transparency go to PNG or WebP. Text-heavy images stay as PNG to keep edges clean.
- Save your original separately. Keep an uncompressed copy in a different folder before you do anything else. Lossy compression is permanent, and you cannot recover discarded data from a compressed file.
- Open a compression tool. You can compress images online without downloading or installing a single application. Upload your file, set your quality level, and download the result.
- Inspect the output visually. Open both the original and the compressed version side by side. Zoom into areas with fine detail, sharp edges, and gradients. If artifacts are visible, raise the quality setting by five percent and run it again.
- Check the final file size. Compare it against the target for your platform. Most web images should land well below 200KB.
- Process your next image. Batch tools can handle dozens of files at once if you have a large content library to work through.
The whole workflow takes under a minute per image once you know what settings work for your content type.
Mistakes That Inflate Image Files Without Adding Any Value
Knowing what causes unnecessary bloat saves you from repeating the same errors across an entire content library.
- Saving photographs as PNG. A photo saved as PNG can be three to five times larger than the same image saved as JPEG. PNG is designed for graphics, not continuous-tone photographs.
- Exporting at original camera resolution. A 12-megapixel camera produces images around 4000 pixels wide. Web pages rarely display images that wide. Resize to match your actual layout before compressing.
- Re-saving a JPEG that has already been compressed. Every time you open and save a JPEG, quality is lost again. Always start your compression workflow from the original file, not from a previously saved copy.
- Forgetting to strip embedded metadata. Camera files often carry GPS coordinates, copyright information, and device details inside the file. Stripping this EXIF data can shave 50 to 100KB off a single image without touching a single visible pixel.
- Defaulting to 100 percent quality. Maximum quality means near-zero compression. For most web uses, 80 percent quality looks identical to a viewer while cutting file size substantially.
What the Numbers Actually Look Like Before and After
A product photo from a smartphone might weigh 4.2MB straight from the camera. After resizing to 1200 pixels wide and saving as a JPEG at 80 percent quality, it drops to around 180KB. That is a reduction of roughly 96 percent with no change the viewer can detect.
A logo designed in a vector tool and exported as a full-resolution PNG might start at 600KB if the canvas is too large and the export has extra whitespace. Cropped tightly and compressed as a PNG-8 or lossless WebP, it can land under 30KB.
A blog post illustration at 800 pixels wide, exported as WebP at 82 percent quality, typically lands between 40KB and 80KB. Multiply that across ten images on a page and you are saving over 1MB of page weight from a single post.
Lighter Files, Sharper Results: The Payoff Is Immediate
Optimizing your images is one of the highest-impact steps you can take for web performance. It costs nothing except a few minutes per image. You get faster load times, lower bounce rates, and better treatment from the platforms and search engines evaluating your pages.
The approach is straightforward. Pick the right format for the image type, resize to your actual display dimensions, compress to a sensible quality level, and verify the result with your own eyes. Visitors will not notice you did anything. They will notice that your pages load without a wait and your images look crisp from the first second.
Start with one image. Look at the before and after file sizes. That number alone tends to make the whole workflow stick.